What started as a quick 4-day project for the development of a series of puzzles for an escape room, turned into a 1-year long one for the delivery of an automated robotic system. Have a look.
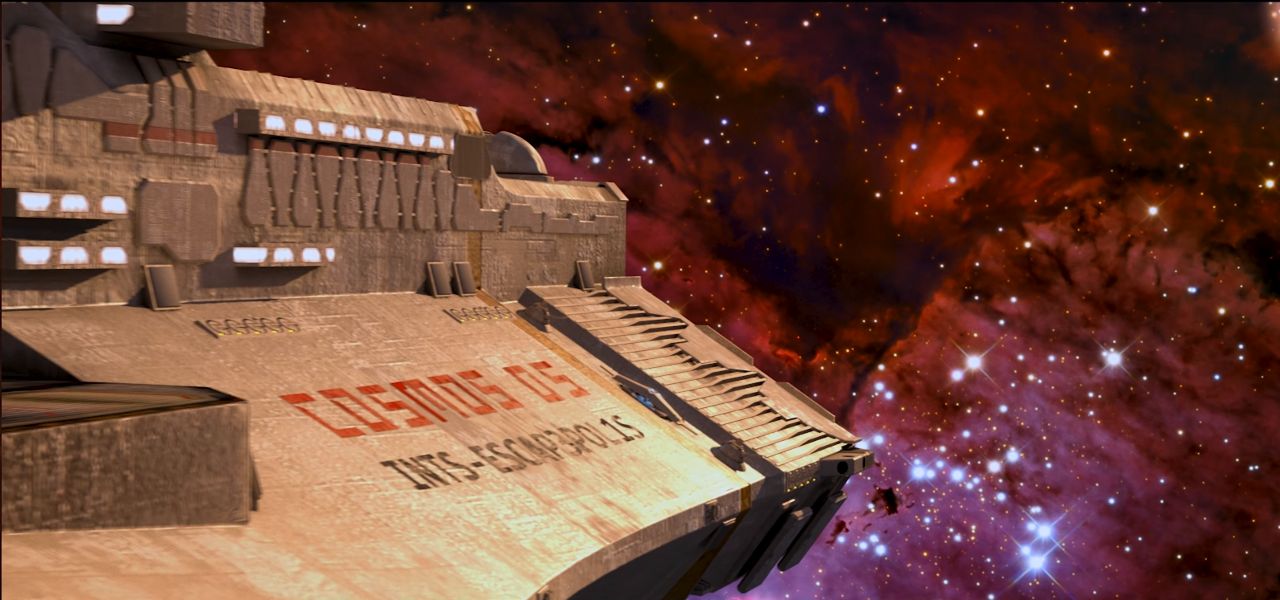
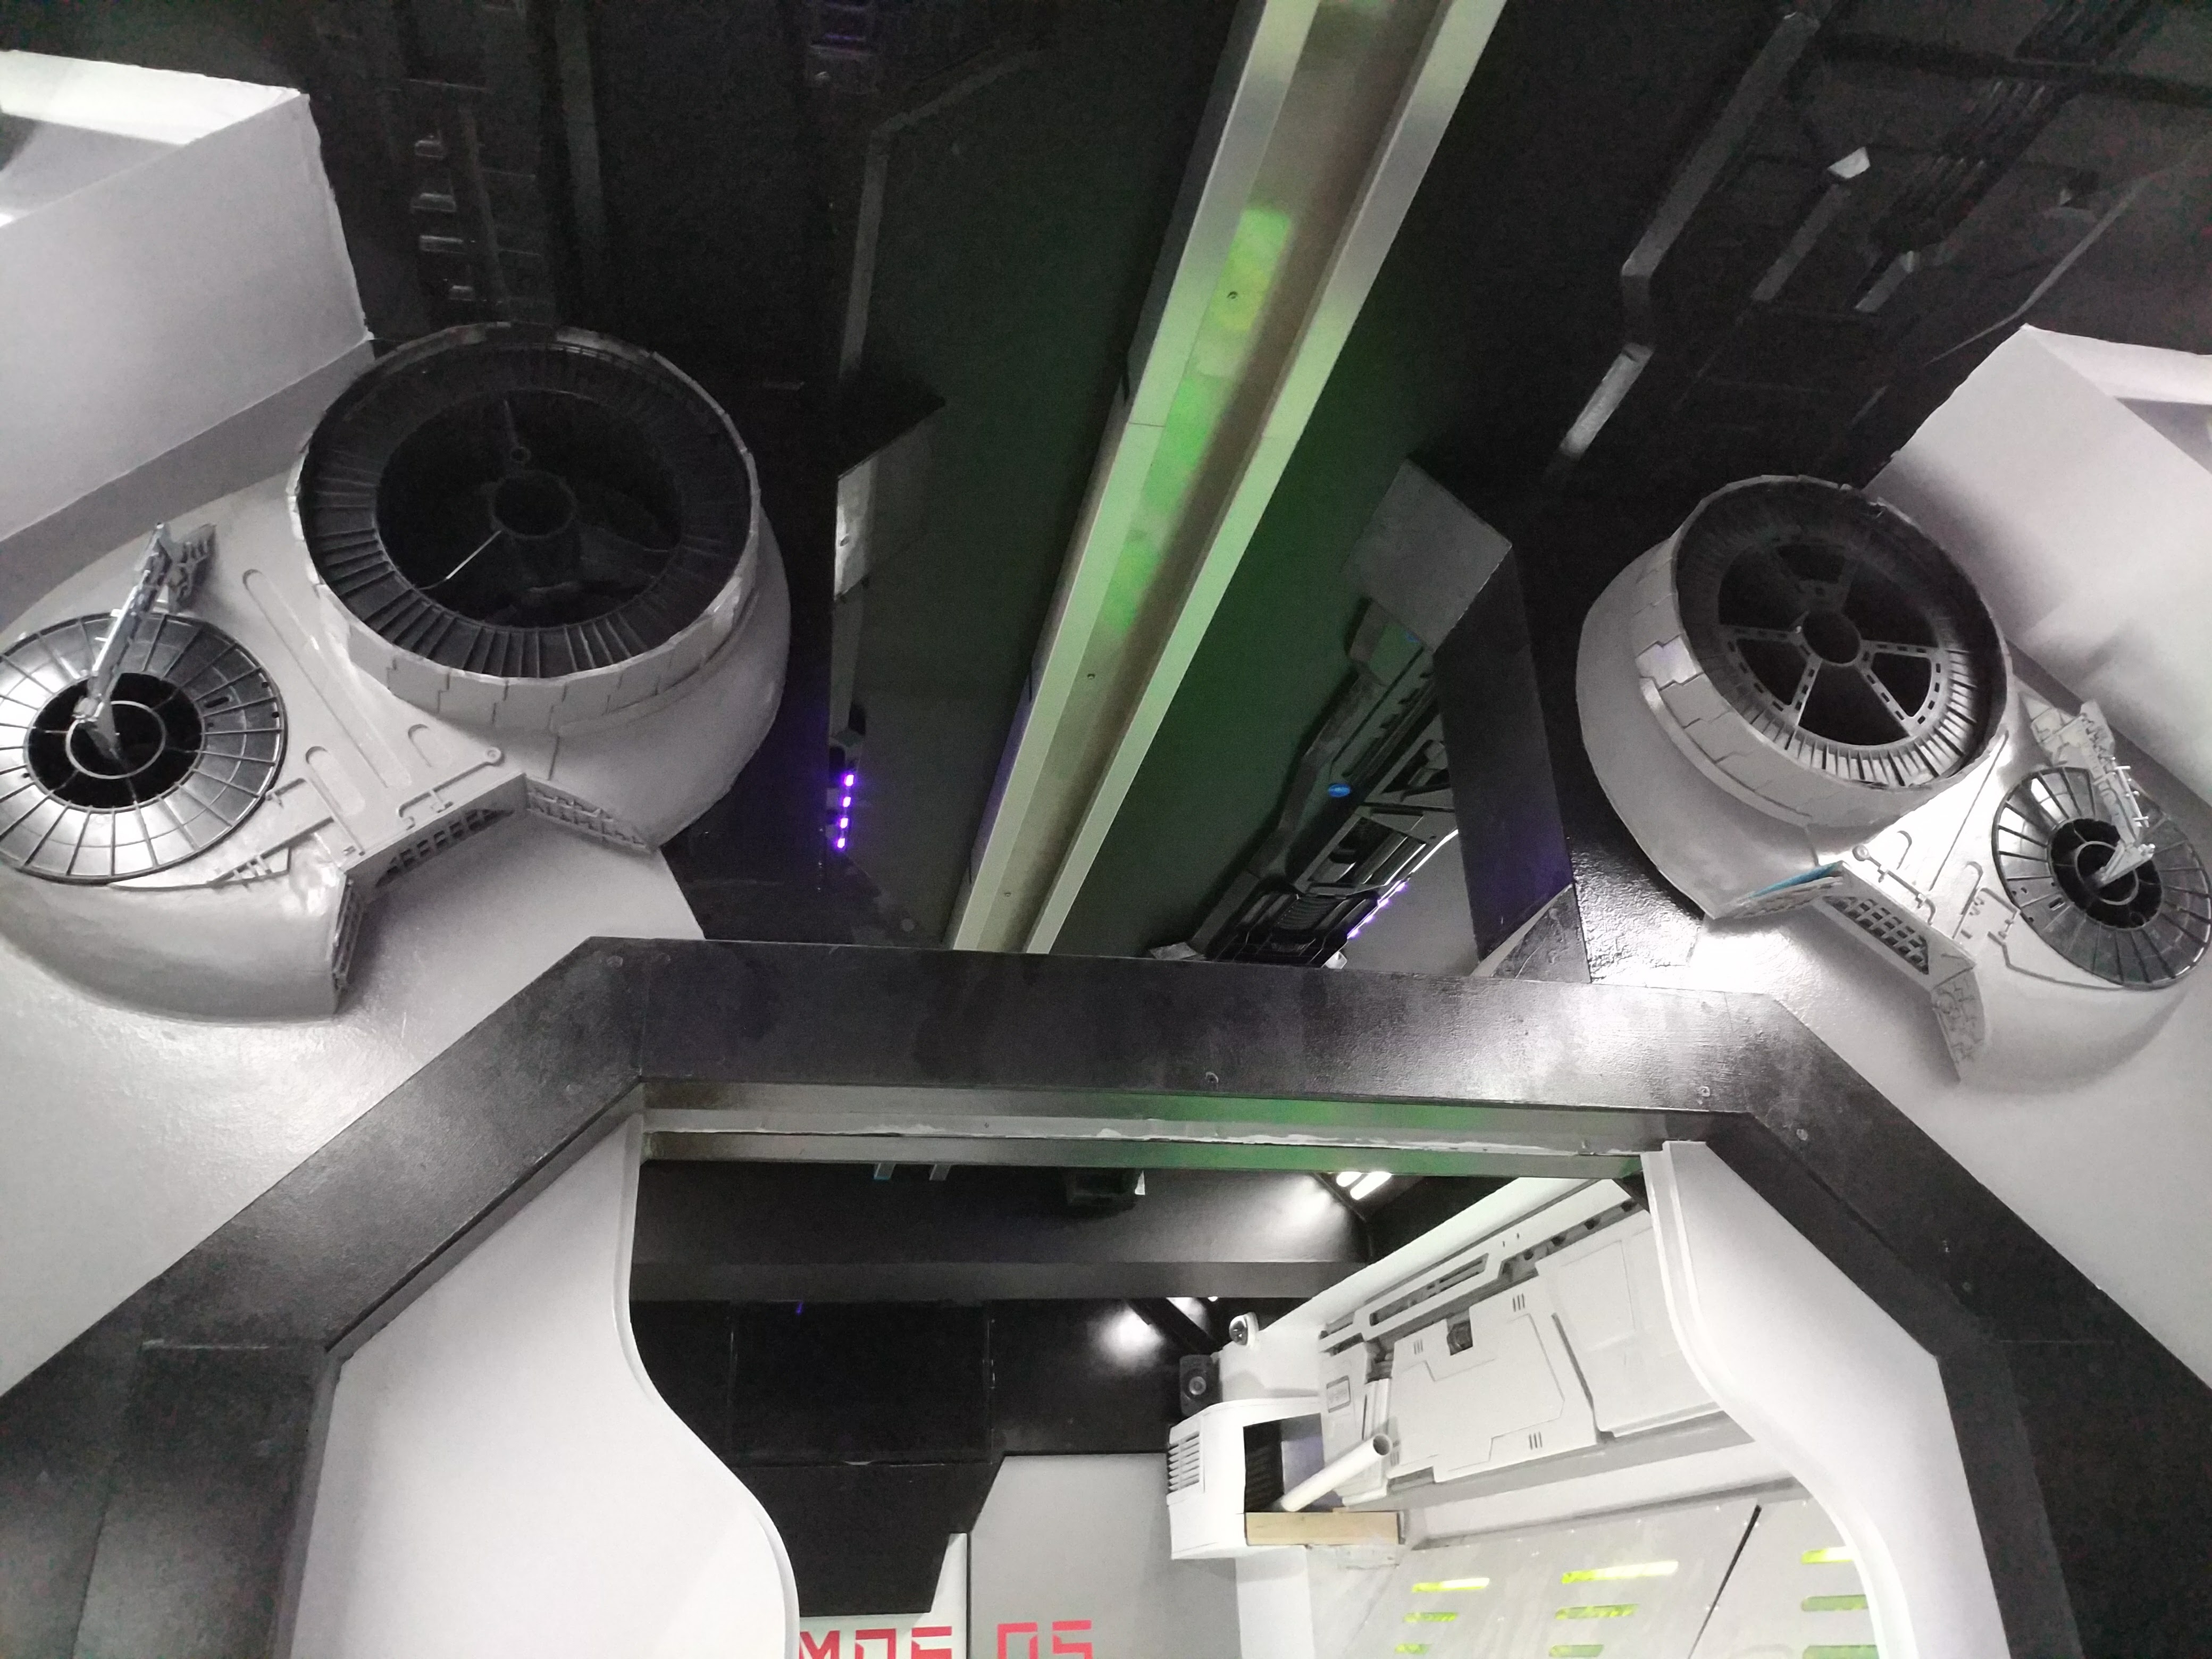
In summer 2017, I was contacted through Upwork by George. George is operating, along with John and their dog Lisa, escape rooms in Athens, Greece. The name of their business is Escapepolis. They introduced me to their COSMOS 05 project. COSMOS 05 is a research spaceship on a mission to evaluate the possibility of human colonization on planet Kepler-186f. I’ll let you read more about it on its official page. I’m not much of an escape room player (at that point, I had only played in just one room), but as soon as I got into the room and heard about the scenario, I was impressed. Their level of commitment to the project had me captivated, and I knew I had to be part of it.
There are many people involved with the project. People for the sets, visual and sound effects, lights, network, electricity, ads, puzzles and the control room. And probably I forget a few. The room, as expected in a spaceship, is full of electronics and automation. Without giving too much away, the room has the “usual” puzzles you would find in an escape room, but there is also an interesting twist which makes things that much more engaging. There is a robot in the game. It’s the artificial intelligence of the spaceship which has gone rogue. It watches the players as they try to take back control of the spaceship, but then the players have also to follow its commands so they manage to stay alive.
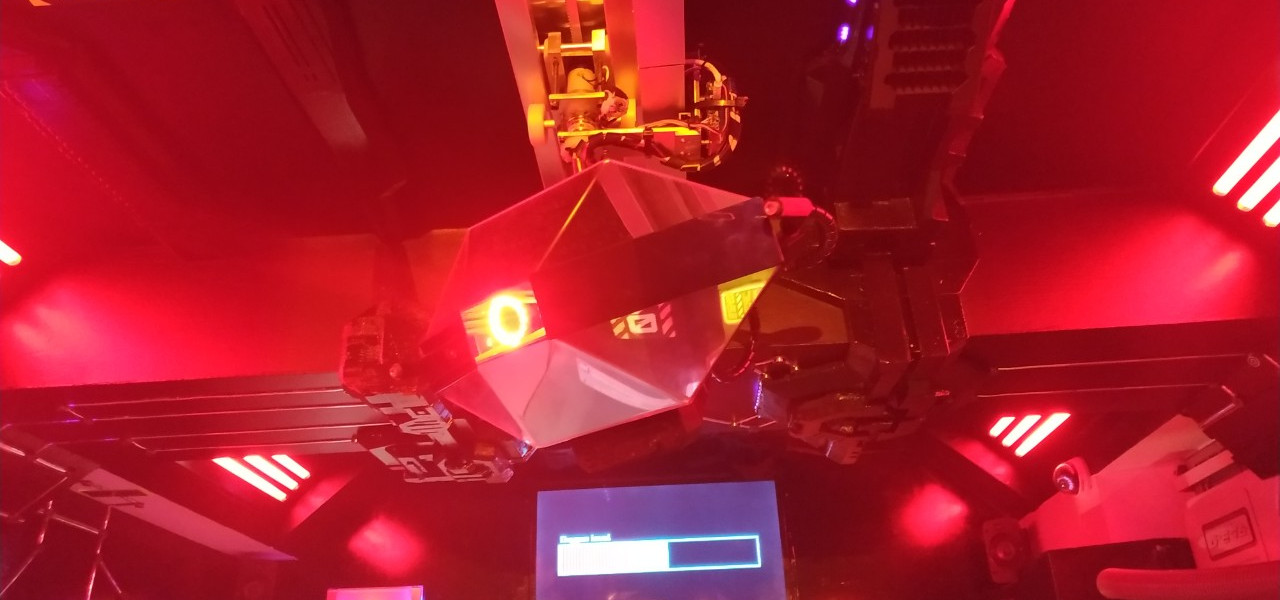
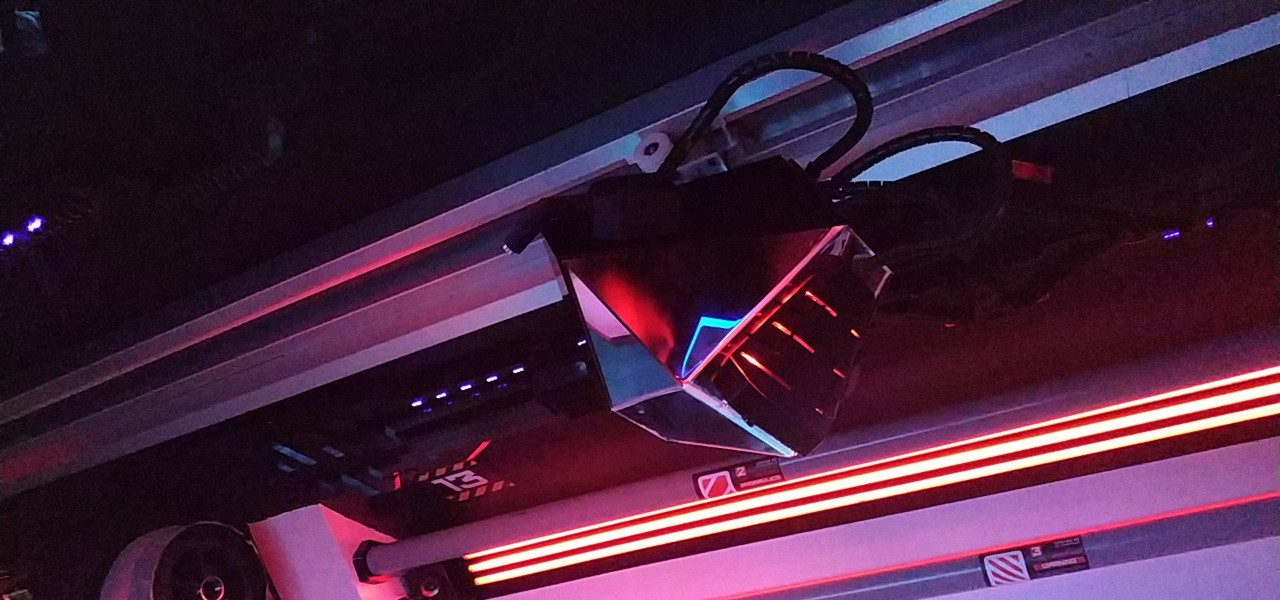
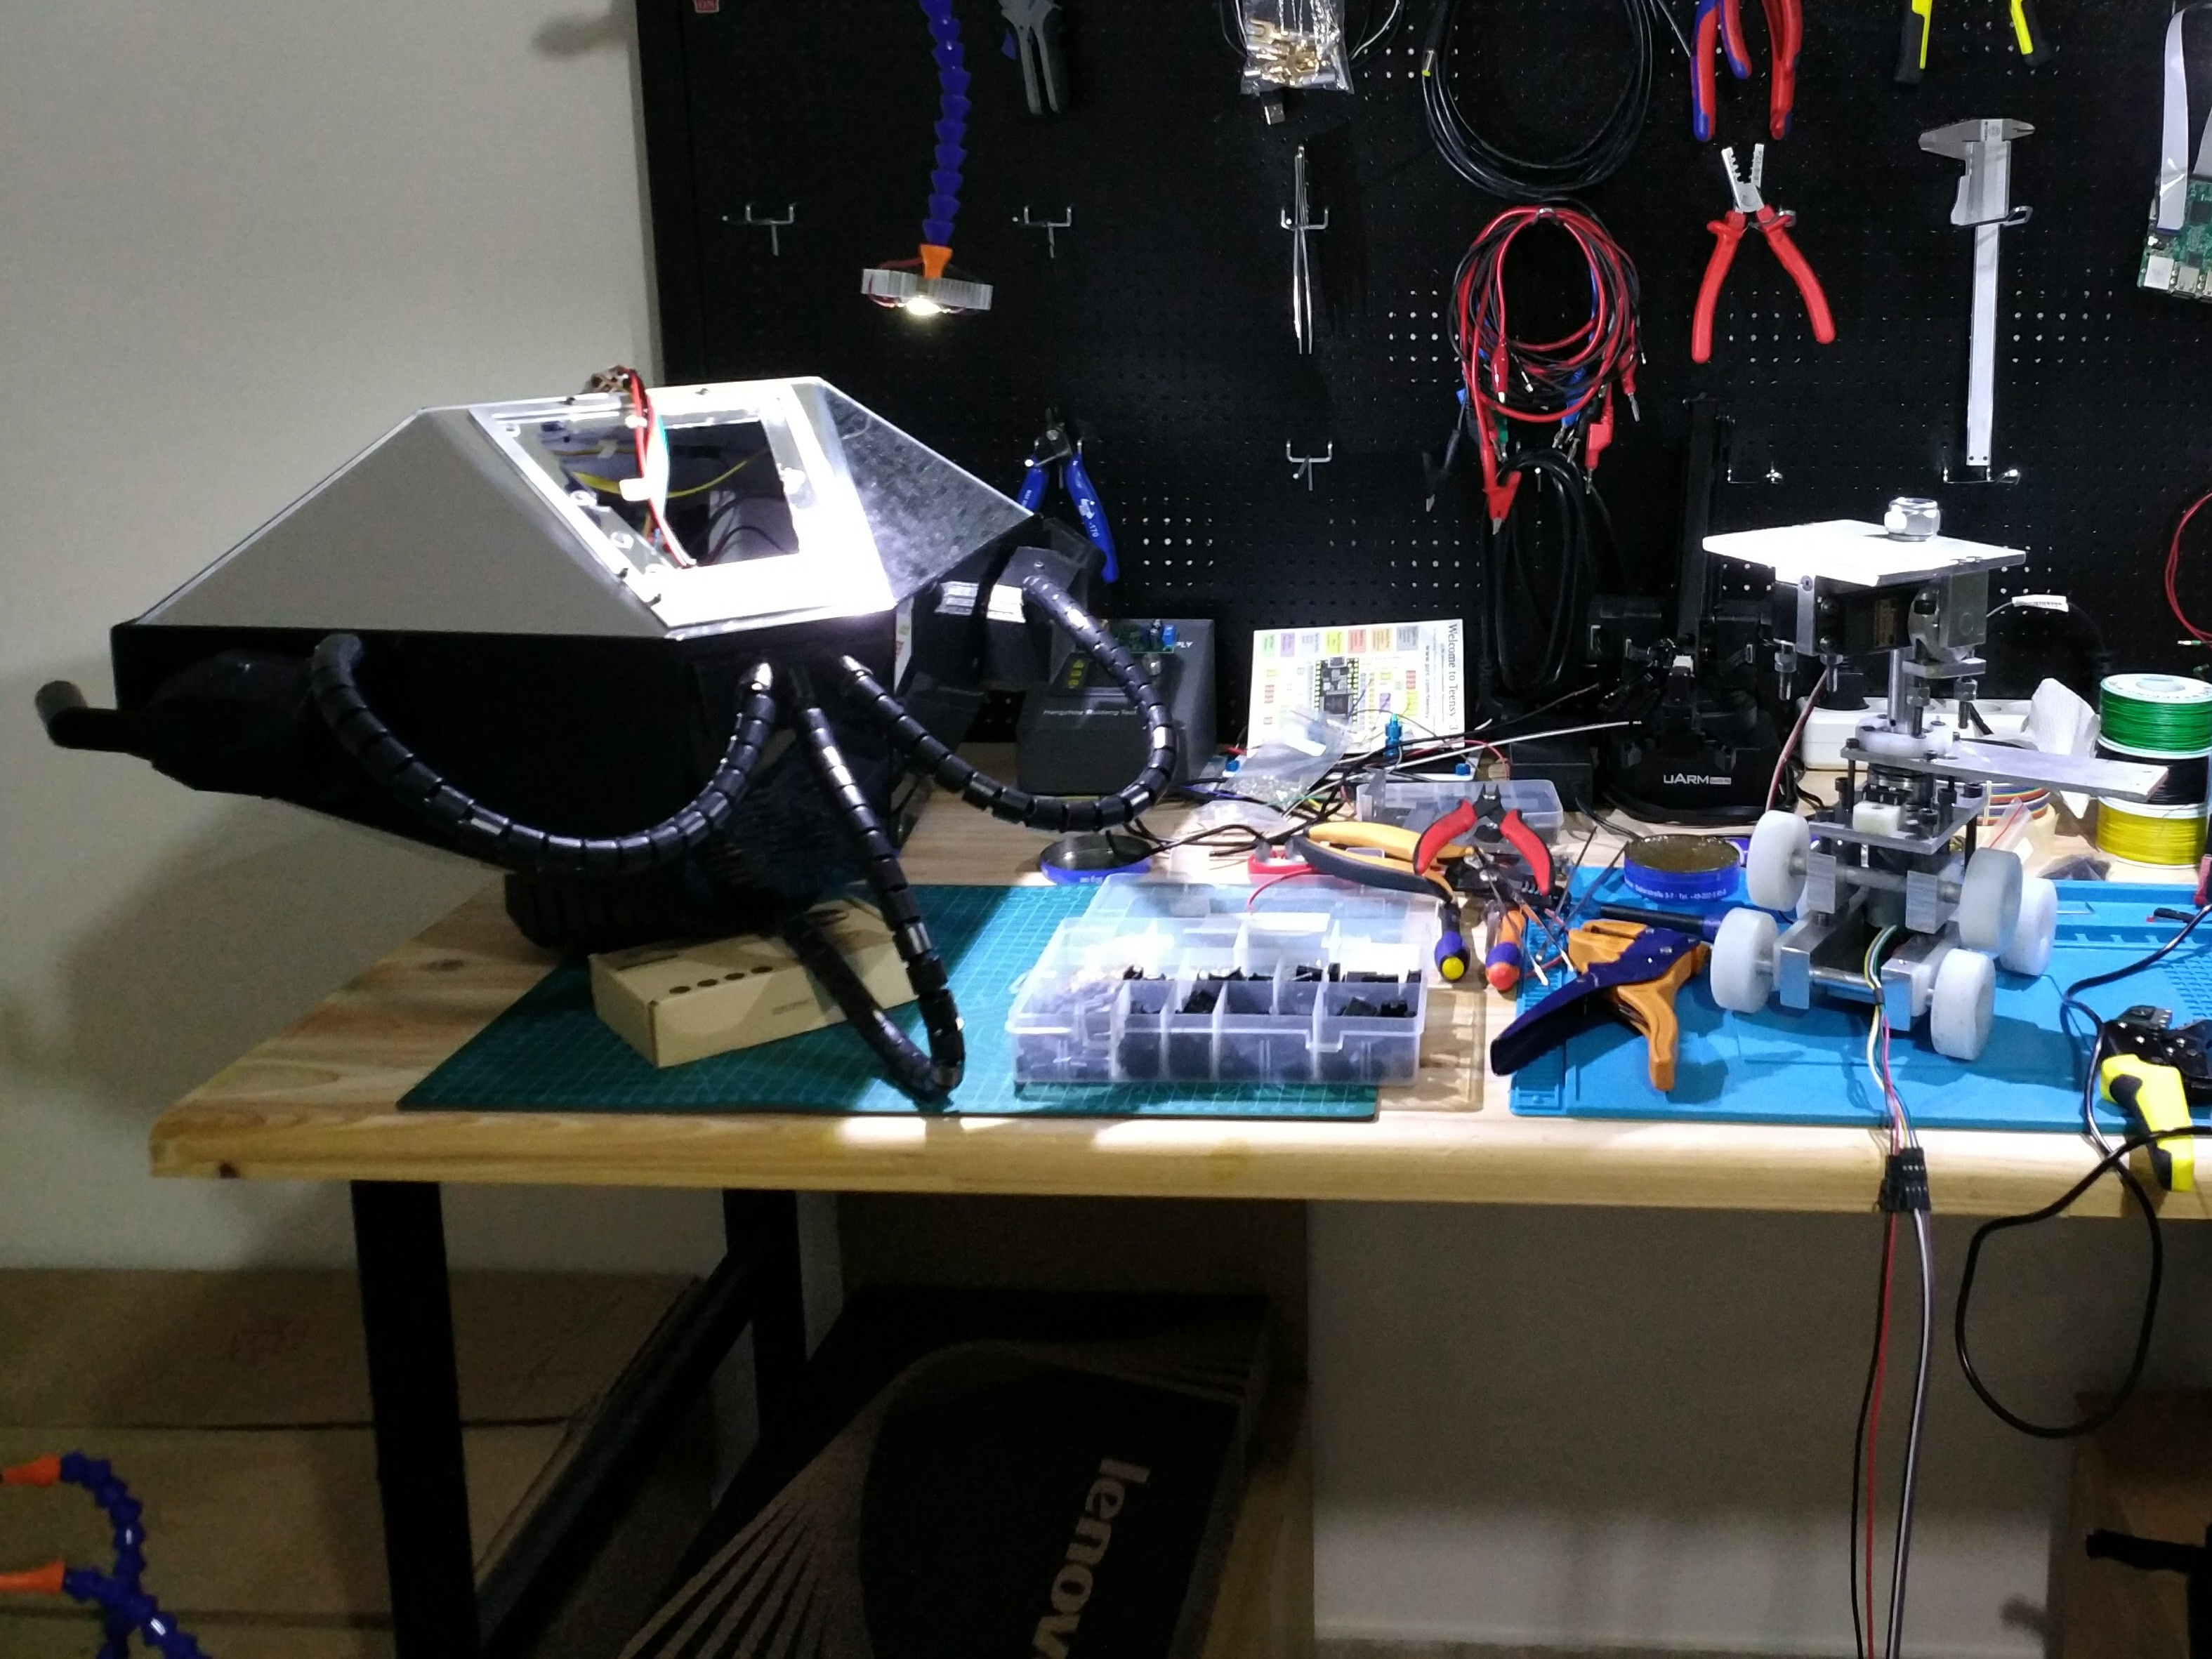
My task, in the beginning, was to work on some of the puzzles in the room. It involved utilizing a diverse range of sensors and microcontrollers, in simple or more complex setups, to create puzzles that employ buttons, colors, light, touch, pressure, and magnetism to get solved. And then they told me “We also want to build a robot. Here is ERIK”. They introduced me to a bare chassis they had put together out of plexiglass. “We want him to be able to follow the players, turn to look at them, have a dynamic visual component for when he interacts with them, and scan them with his lasers.” I knew it would be a lot of work, and yet, not nearly as much as it proved to be in the end (a lot of challenges presented themselves along the way that made development a real pain in the ass). So, I had to form a team. That’s when I brought in Aris Synodinos and Dimitris Sako, and together, we pulled it off.
The goal? Make the robot move. Any constraints? Work with a chassis that was designed for show, and not for manufacturability and assembly, and a rail that was mounted on a crooked ceiling!
Then we formed the requirements:
- The robot can move in the room (one translational degree of freedom)
- The robot can take different orientations (two rotational degrees of freedom)
- The robot can accept a command to move to a desired goal pose
- The robot has two line lasers that move up and down and simulate a scanning
- The robot has an eye that changes colors, performs visual effects, and responds to speech
- The robot has a camera that sends a live video stream to the control room
- The robot has a speaker that receives a live audio stream from the control room
- A control panel allows initiating different scenes where the robot performs a specific set of actions
- The scenes can be adjusted at different stages in the game
Then we had to share roles. Dimitris would machine, assemble and install the parts, Aris would design the mechanical parts and do all things control, and I would handle everything else. The boundaries between these roles eventually became blurry and we had to help each other a lot as we were faced with various time limitations and two relocations abroad. We ended up debugging the robot remotely from thousands of kilometers away. What could go wrong, right?
Regarding the control panel, the goal was to accommodate for the entire room. That means giving web interfaces to the puzzles and other hardware so they can be controlled by the game master when the players cannot solve the puzzles, and also the hardware can report its status so the robot can modify its behavior. So we started with implementing these interfaces. All communication in the room is based on the MQTT protocol. The broker is on a raspberry pi in the control room, which is also where the control panel runs. We put a few ESP32s around the room and voilà. We were able to open doors and sleeping pods and unlock puzzles.
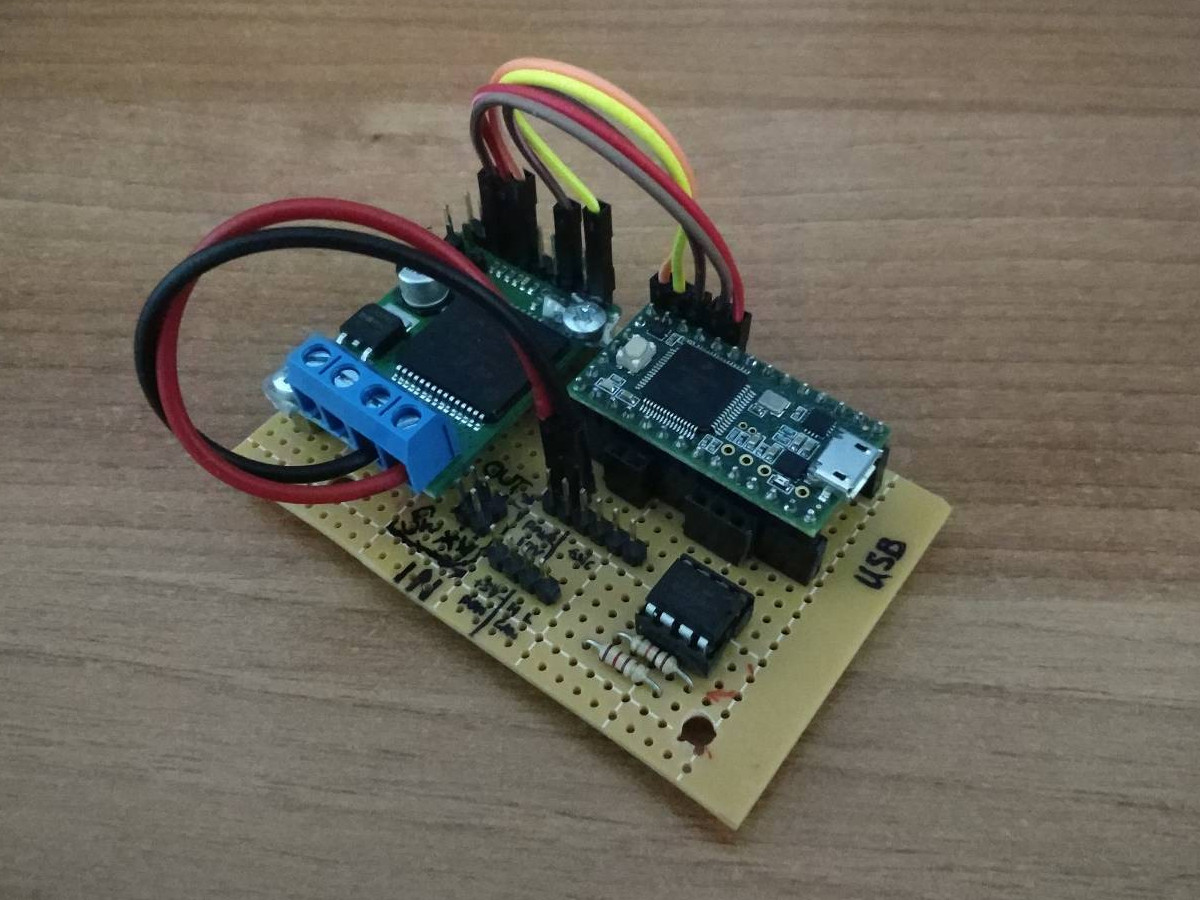
Then it was time to take care of the robot, so we went shopping for motors and electronics. Initially, we went for a couple of 12V DC motors for x and yaw, a beefy servo for pitch and two small servos for the lasers, but two of them proved to be inadequate. The robot is too heavy/unbalanced and the rail too messed up. So we upgraded to two 24V DC motors and ended up with quite a few power supplies going to the robot. The levels are 12V and 24V for the DC motors, 6V (stepped down from 12V) for the laser servos, and 5V for the various controllers and raspberry pi which acts as the main computer board. The motor controllers comprise of a Teensy 3.2, a motor driver and a limit switch. All the motors, but one, are on the robot. The x motor instead is at one end of the rail. This means the x controller had to somehow communicate with the raspberry pi and serial wasn’t gonna cut it over a 5m distance. Instead, we utilized the CAN port that is available on the teensy, and to avoid purchasing one extra CAN driver for the raspberry pi, we took advantage of the yaw teensy. Now, when the raspberry wants to talk to x, and vice versa, it talks to yaw through serial and yaw talks to x through CAN. So apart from the components mentioned above, the x and yaw controllers also carry an MCP2551 CAN transceiver.
A Python script on the raspberry pi monitors the state of the robot and implements the interface for receiving commands from the control panel and publishing the state to the control panel. Communication once again is realized with MQTT.
Then we moved on to mechanical design. That had two components, one for the mechanical parts of the axes, and one for the structural/decorative parts of miscellaneous devices. We designed a few 3D printed parts that housed the camera, the lights, the lasers, and some cabling.
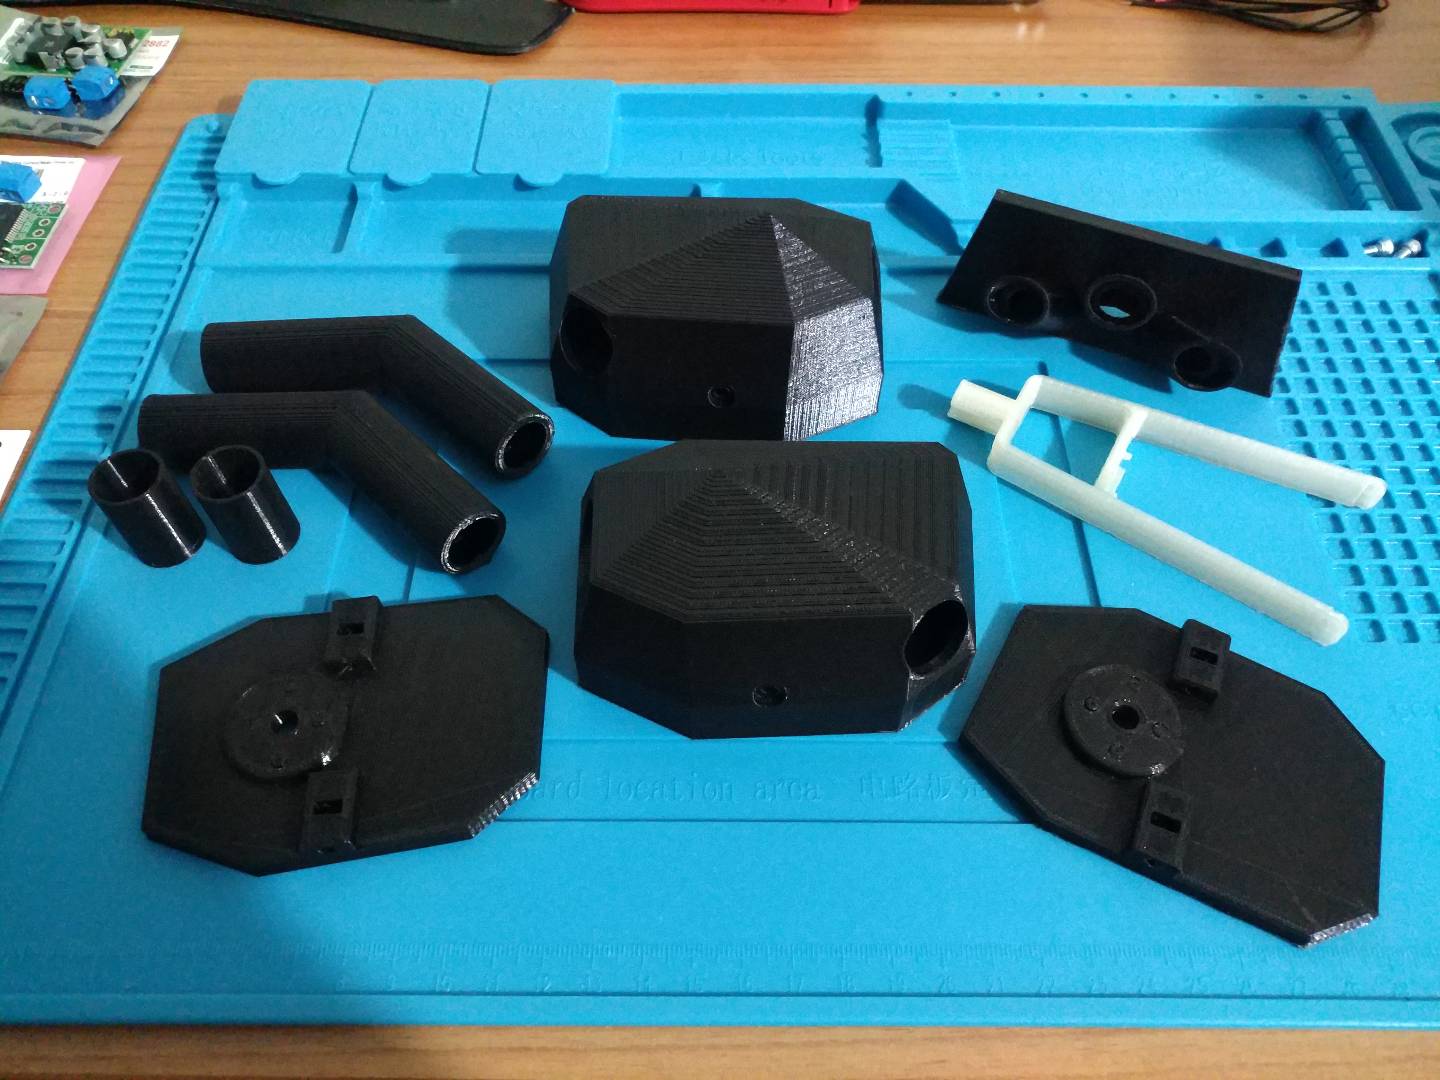
The mechanical design was one of the most challenging parts of the project. We were restricted in terms of space, and that wasn’t only because of the small internal dimensions of the chassis, but also because we had to fit certain other electronics inside, along with a hefty Bluetooth speaker that George was in love with. (The speaker proved problematic, and eventually, we managed to get rid of it. Oh, what jubilation.) Nevertheless, Aris and Dimitris pulled a rabbit out of their hats and made it happen.
For the scanning, two arms/cannons (however you wanna call them) were mounted on servos on each side of the robot. Each of the arms had a line laser on it. When scanning is activated, the lasers are turned on, and the arms are rotating up and down synchronized.
For the camera, a StackOverflow thread gave a quick solution without too much trouble. It was based on a named pipe and OpenCV. As soon as we started the server-client sides, a window appeared with the live stream and a low enough latency.
For audio, we initially tried to use PulseAudio RTP stream. It was doing what it was supposed to do, but more often than not, we would struggle to get it up and running. So, eventually, we turned to pyaudio which gave a reliable solution, and we were finally able to go to the next step.
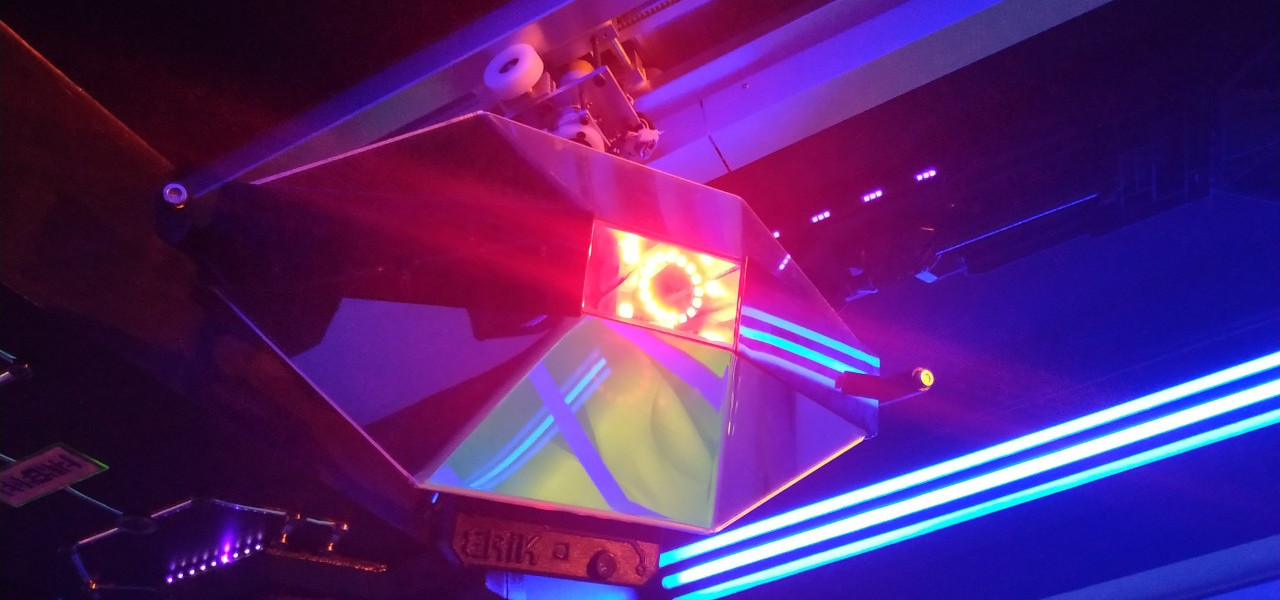
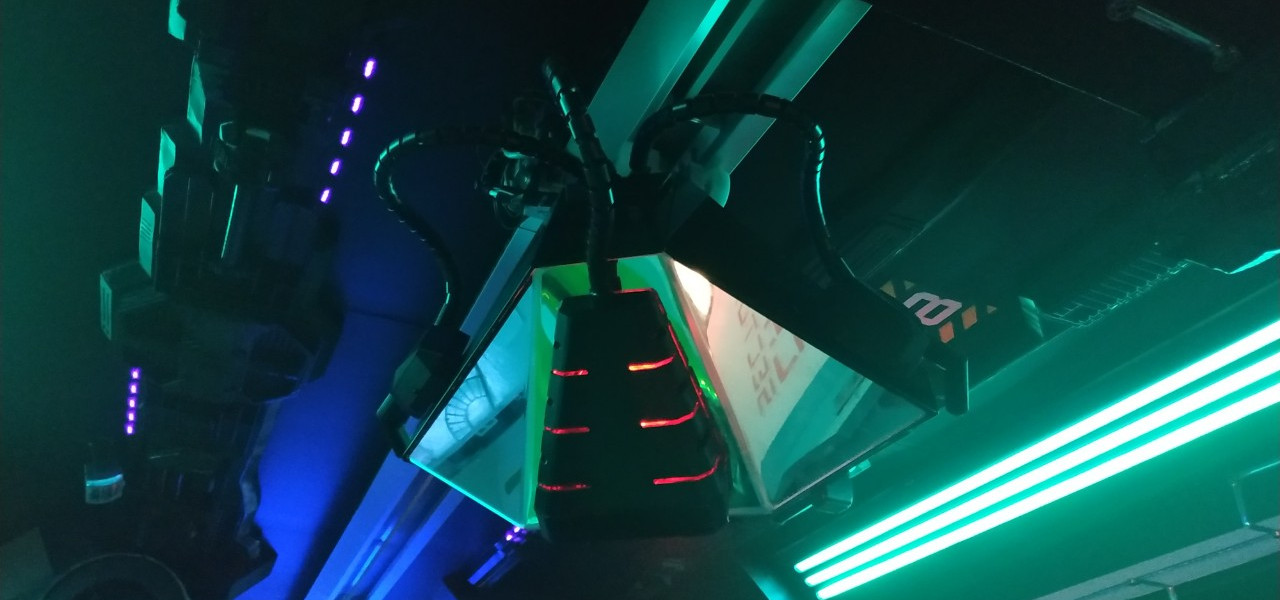
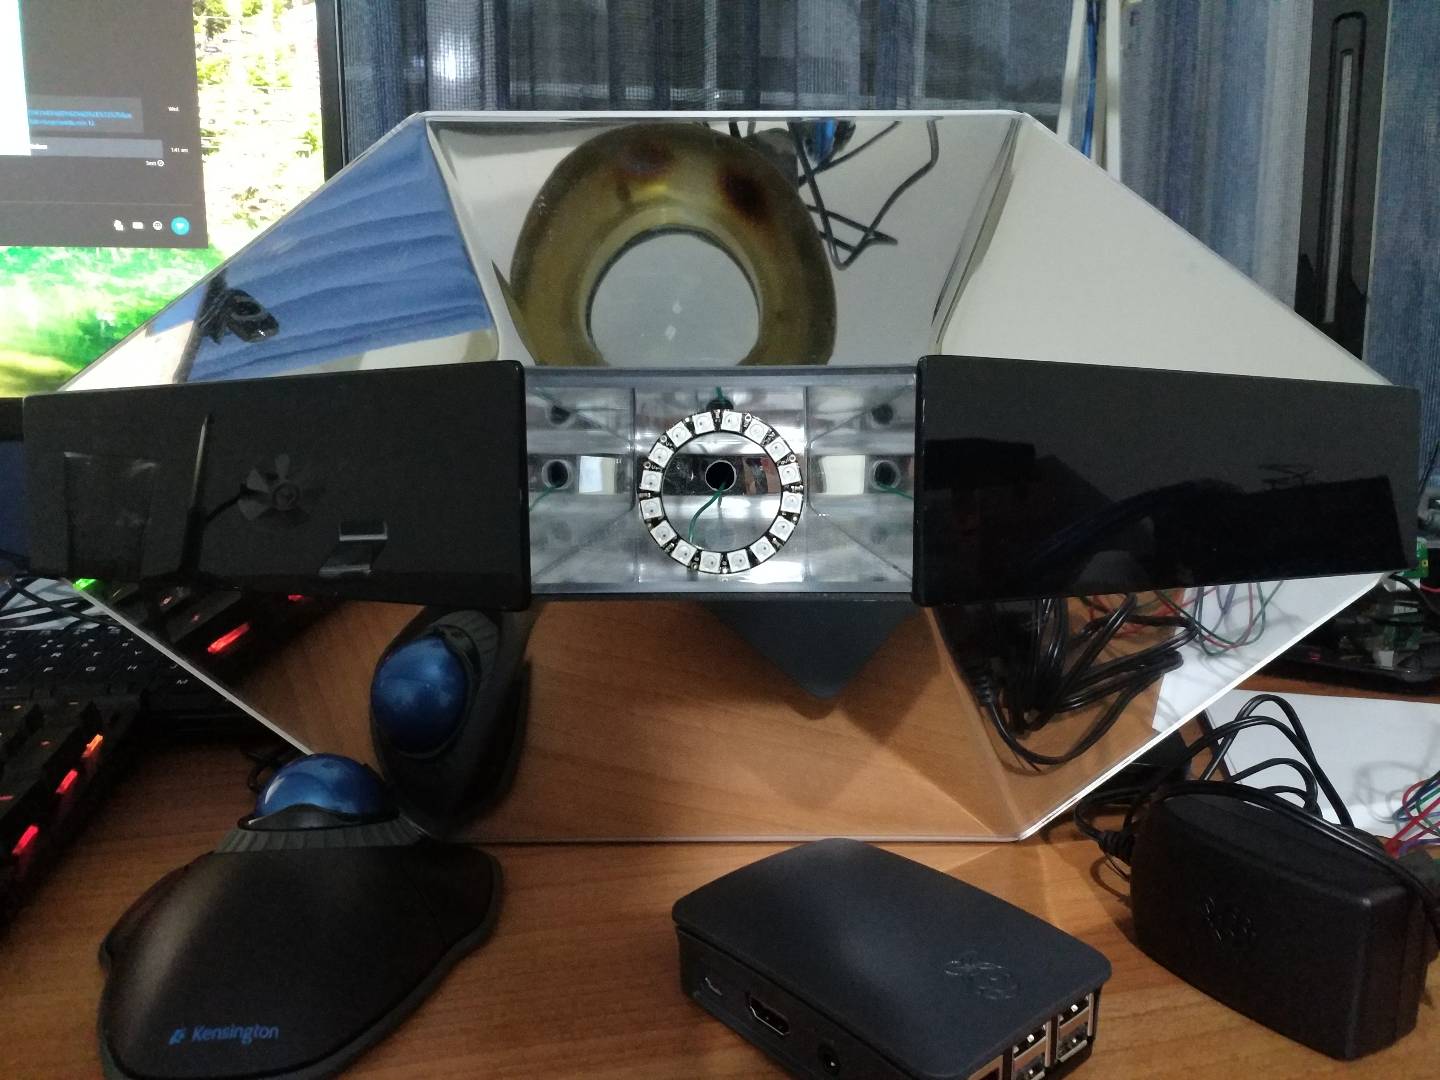
Next was the visuals. ERIK has an eye (a core LED in the center and a ring of LEDs around it). The purpose of the eye is to make ERIK appear alive. Normally, the LED in the center does a breathing effect, and the ring does an effect that indicates that ERIK is waiting for a command. Apart from that, the ring responds to speech when ERIK wants to say something. Here is what it looks like (in a video recording during early testing… don’t pay attention to the speech).
Whenever ERIK started to play a scene or when he performed certain actions (e.g., scanning), we needed to send notifications so sound effects could play. The sound engineer was using a program on Windows and, after a bit of search, we found out that his program supported serial communication. So what we did was that we created a script that would receive MQTT messages and then relay those messages to the other program through a virtual serial port. The result is what you saw in the first video. When an event happens, a notification is sent and a sound effect plays. If there is a message to be played by ERIK, the output from the Windows computer is fed to an external sound card on the raspberry pi in the control room, and then the pi streams the audio to ERIK.
Finally, we move on to the control room where the control panel resides. As hinted before, the control panel allows to manually unlock puzzles and other hardware in the room, monitor the state of ERIK, and control ERIK (start/cancel scenes and send audible messages/warnings to the players). It is based on PyQt. It wasn’t that easy to configure the UI, but it worked after all (it reminded me of those dark days when I was trying to work with CSS for building this very website).
And that is it. That’s ERIK. It has been a truly unique experience working on this project. It required so many different disciplines to be combined, from mechanical design and electronics to control and software, and others that you wouldn’t consider as important at first sight, like networks and UX design. So many challenges had to be tackled that would make you regret ever starting the project, but in the end, it was all worth it. It shows you the difference between building a prototype and delivering a product in the real world that has always to work and work reliably. And that is a valuable lesson. Watch out!