We are back with another post on TrueNAS Core. This time, we look into setting up the Deluge torrent client behind a VPN for privacy and have a kill switch to ensure that all traffic goes exclusively through the VPN.
Intro
The TrueNAS community already provides a plugin for Deluge. It’s pretty straightforward to get started. You install the plugin, you mount a dataset for your downloads, and you are ready to add your torrents.
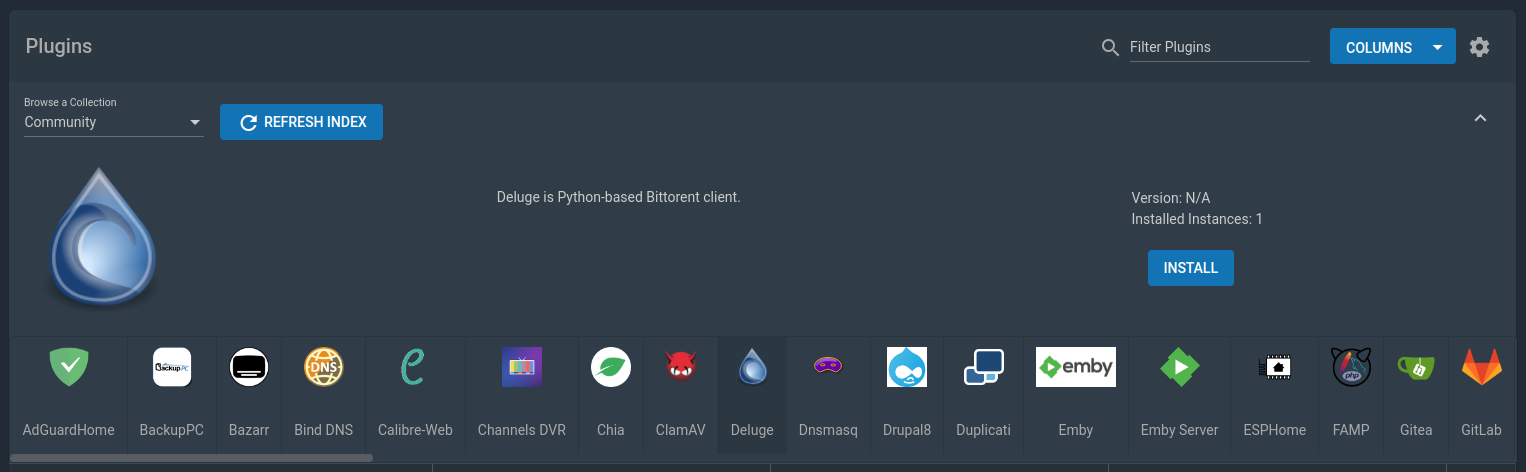
Unfortunately, the plugin doesn’t have OpenVPN enabled. If you try yourself to configure OpenVPN and connect to your provider, you’ll most likely get an error like the following:
Jan 14 19:21:50 deluge openvpn[29470]: Cannot allocate TUN/TAP dev dynamically
Jan 14 19:21:50 deluge openvpn[29470]: Exiting due to fatal error
The above means OpenVPN failed to create a tunnel device for itself. No problem though, it’s easy to fix.
Jail Properties
We need to change a couple of settings to allow OpenVPN to create a tunnel device (credits go to TonyMEdKniven). If it’s running, stop your Deluge Jail, and then edit it.

In the Jail Properties tab, check allow_mount and allow_mount_devfs. In the Custom Properties tab, check allow_tun.

Having done that, you may now start the Jail. That should normally be enough, but just in case, I should mention that in one of my tests, I ended up rebooting TrueNAS to make it work.
OpenVPN Configuration
VPN providers have their own applications to connect to their VPNs. They usually also provide OpenVPN configurations that you can use to set up a connection by yourself. You’ll need to google that for your own provider and retrieve the configuration for the server of your choice. Let’s assume that you end up with an ovpn.conf file that looks like this:
client
dev tun
proto udp
remote 154.348.452.746 1194
resolv-retry infinite
persist-key
...
Edit the file, look for any auth-* entries and replace them with:
auth-user-pass /usr/local/etc/openvpn/credentials
auth-nocache
Then, create a second file with the name credentials and enter the username and password that your provider gives you:
username
password
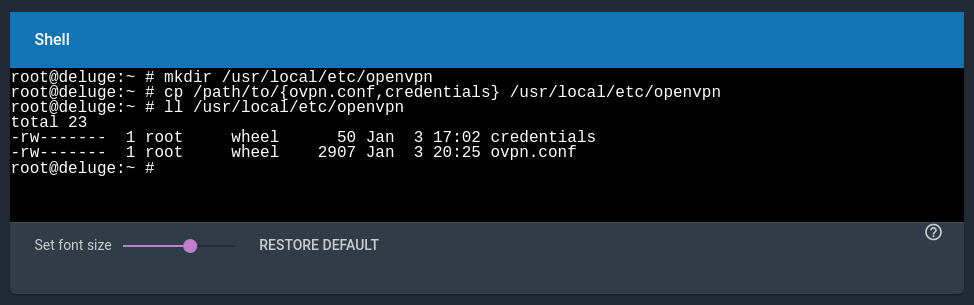
Finally, we’ll need to move the files inside the Jail. Copy them somewhere on the dataset that you have mounted on the Jail, and then type the following in the Jail Shell:
mkdir /usr/local/etc/openvpn
cp /path/to/{ovpn.conf,credentials} /usr/local/etc/openvpn
OpenVPN Client
Let’s first install OpenVPN. In the Jail Shell, type:
pkg install openvpn
Next, we need to enable OpenVPN:
sysrc -f /etc/rc.conf openvpn_enable=YES
sysrc -f /etc/rc.conf openvpn_configfile=/usr/local/etc/openvpn/ovpn.conf
Now restart the Jail. If successful, you should see an active tun interface.
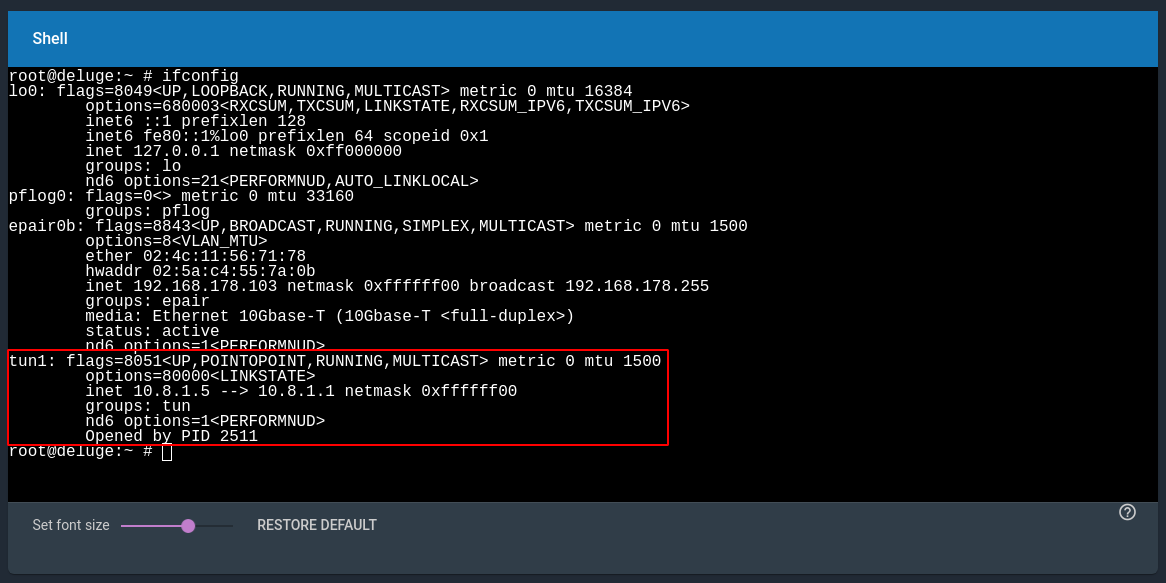
If not, check for errors in /var/log/messages. Check the file also for any warnings by OpenVPN. The configuration file that you downloaded might not be up to the standard. If you find one, google it and look for the fix.
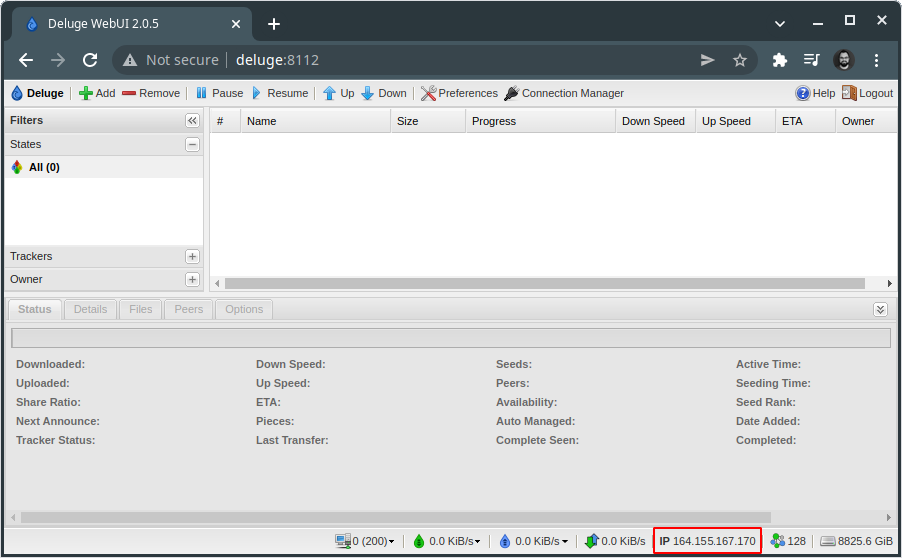
Finally, confirm that Deluge sees your provider’s IP. If not, you may restart the Deluge daemon:
service deluged restart
Kill Switch
A kill switch will route traffic through the VPN, and block everything if the VPN connection drops. For this one, all credits go to danjacques. Follow his instructions here and update the ipfw.rules file according to your case. Copy the file to /usr/local/etc/openvpn and enable the firewall:
sysrc -f /etc/rc.conf firewall_enable=YES
sysrc -f /etc/rc.conf firewall_script=/usr/local/etc/openvpn/ipfw.rules
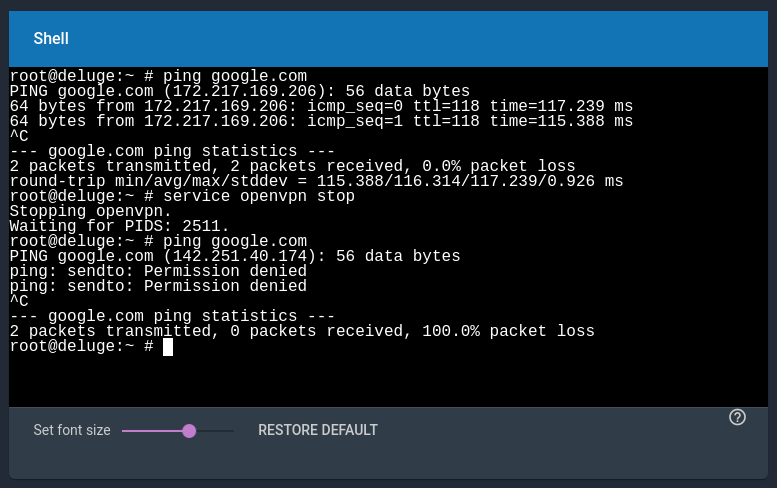
Restart the Jail. To test the kill switch, stop the openvpn daemon and try to ping a hostname. You should fail to do so. Also, in the Deluge Web UI, you should see n/a in the IP field.
Conclusion
That is it with setting up Deluge on TrueNAS Core. Next time we look into how to send torrents to the remote Deluge server when clicking on magnet links.