Every robotics application follows a continuous cycle of development. This cycle has three main components. The first one involves the development of features, the second one has to do with the testing of those features, and the last one is their deployment on the robots out in the real world.

It’s imperative to always test any updates before deploying them to working robots, as the chances are that, sooner or later, things will break with devastating results for the robots and their surroundings. Testing is performed in the real world, but usually in a controlled environment, which accommodates for safety concerns and eliminates some of the unknowns. Furthermore, this environment is most likely limited, which restricts the number of scenarios that can be tested.
In order for us to free ourselves from these constraints, we can take one extra step, before starting to test on real robots, and do our testing in a simulated world. Simulation offers several benefits. It bears no risk to robots and humans, it minimizes cost, and it allows to fail often and fast. By catching mistakes early, we can go through iterations more quickly and get the robots stable faster. Most importantly, in simulation, we have the possibility to generate an unlimited number of scenarios, where we can define the exact conditions that we want to test, and then run these scenarios as many times as we like. But this doesn’t mean simulation is a panacea. A virtual world, more often than not, is only an approximation of reality, and thus we cannot trust it 100%. So once we perform and pass our tests in simulation, we need to validate operation on the real robots. As soon as we do that, and we are confident in our updates, we have a new release ready that we can deploy out in the real world, and let the world enjoy our newest bugs… I mean features.
ROS is the catalyst that has been facilitating the development of robots for many years. But it so happens that we also have a tool for simulation, and that is Gazebo. Gazebo is a robot simulator with a physics engine, 3D graphics, and full integration with ROS. What does this mean you ask?
- With physics simulation, we can test dynamic interactions between different bodies. It’s in essence what simulation is all about. We want to model a physical system and then evaluate its performance as it interacts with its environment.
- And why are graphics relevant in this context? Well, robots can have eyes too. As we move away from dumb fixed robots on factory floors towards mobile robots in unknown and dynamic environments, they have to be able to perceive the world around them. One way of doing so is through cameras. For that, we need proper lighting, shadows, and textures that will render a realistic scene which the robots will then try to understand.
- What do we know from ROS? We know packages, messages, services, and dynamic parameters. Gazebo’s ROS integration makes use of all these to allow starting gazebo, spawning robot models, controlling the simulation and manipulating the world. We don’t need to make any extra effort to set up a simulation. Everything is supported through familiar ROS tools and concepts.
And now you can also do everything mentioned above (development, testing, deployment) on the cloud with AWS RoboMaker. RoboMaker allows you to perform scalable and parallel simulations based on Gazebo. And it’s straightforward too. You upload your bundle on an Amazon S3 bucket, configure the simulation, have it run, and finally get your output also from a folder in an S3 bucket.
Let’s take on the task of setting up a simulation for a mobile robot such that it’s able to navigate the world while avoiding static and dynamic obstacles in its way. What are the steps for having the robot do this?
- Create the world in which the robot will live
- Generate a map of the world that the robot will use for navigation
- Make the robot stay localized in the world as it moves
- Make the robot aware of its surroundings
- Make the robot compute and follow trajectories that are always up to date with what the robot sees
In a series of posts that will follow in the coming weeks, we will go through every step of this process with a focus on getting ourselves familiar with Gazebo. For now, let’s get Gazebo ready.
We’ll be working with ROS Kinetic. If you have installed ros-kinetic-desktop-full, Gazebo should already be in your system. Otherwise, to install Gazebo 7 (the official version under ROS Kinetic), execute the following:
$ sudo apt install ros-kinetic-gazebo-ros-pkgs ros-kinetic-gazebo-ros-control
$ gazebo --version
If later down the line you encounter any problems with Gazebo that is said to be resolved with a newer version, you can try installing the latest Gazebo 7 version:
$ sudo sh -c 'echo "deb http://packages.osrfoundation.org/gazebo/ubuntu-stable `lsb_release -cs` main" > /etc/apt/sources.list.d/gazebo-stable.list'
$ wget http://packages.osrfoundation.org/gazebo.key -O - | sudo apt-key add -
$ sudo apt update
$ sudo apt install gazebo7 libgazebo7-dev
$ gazebo --version
Now we can launch Gazebo with the following command.
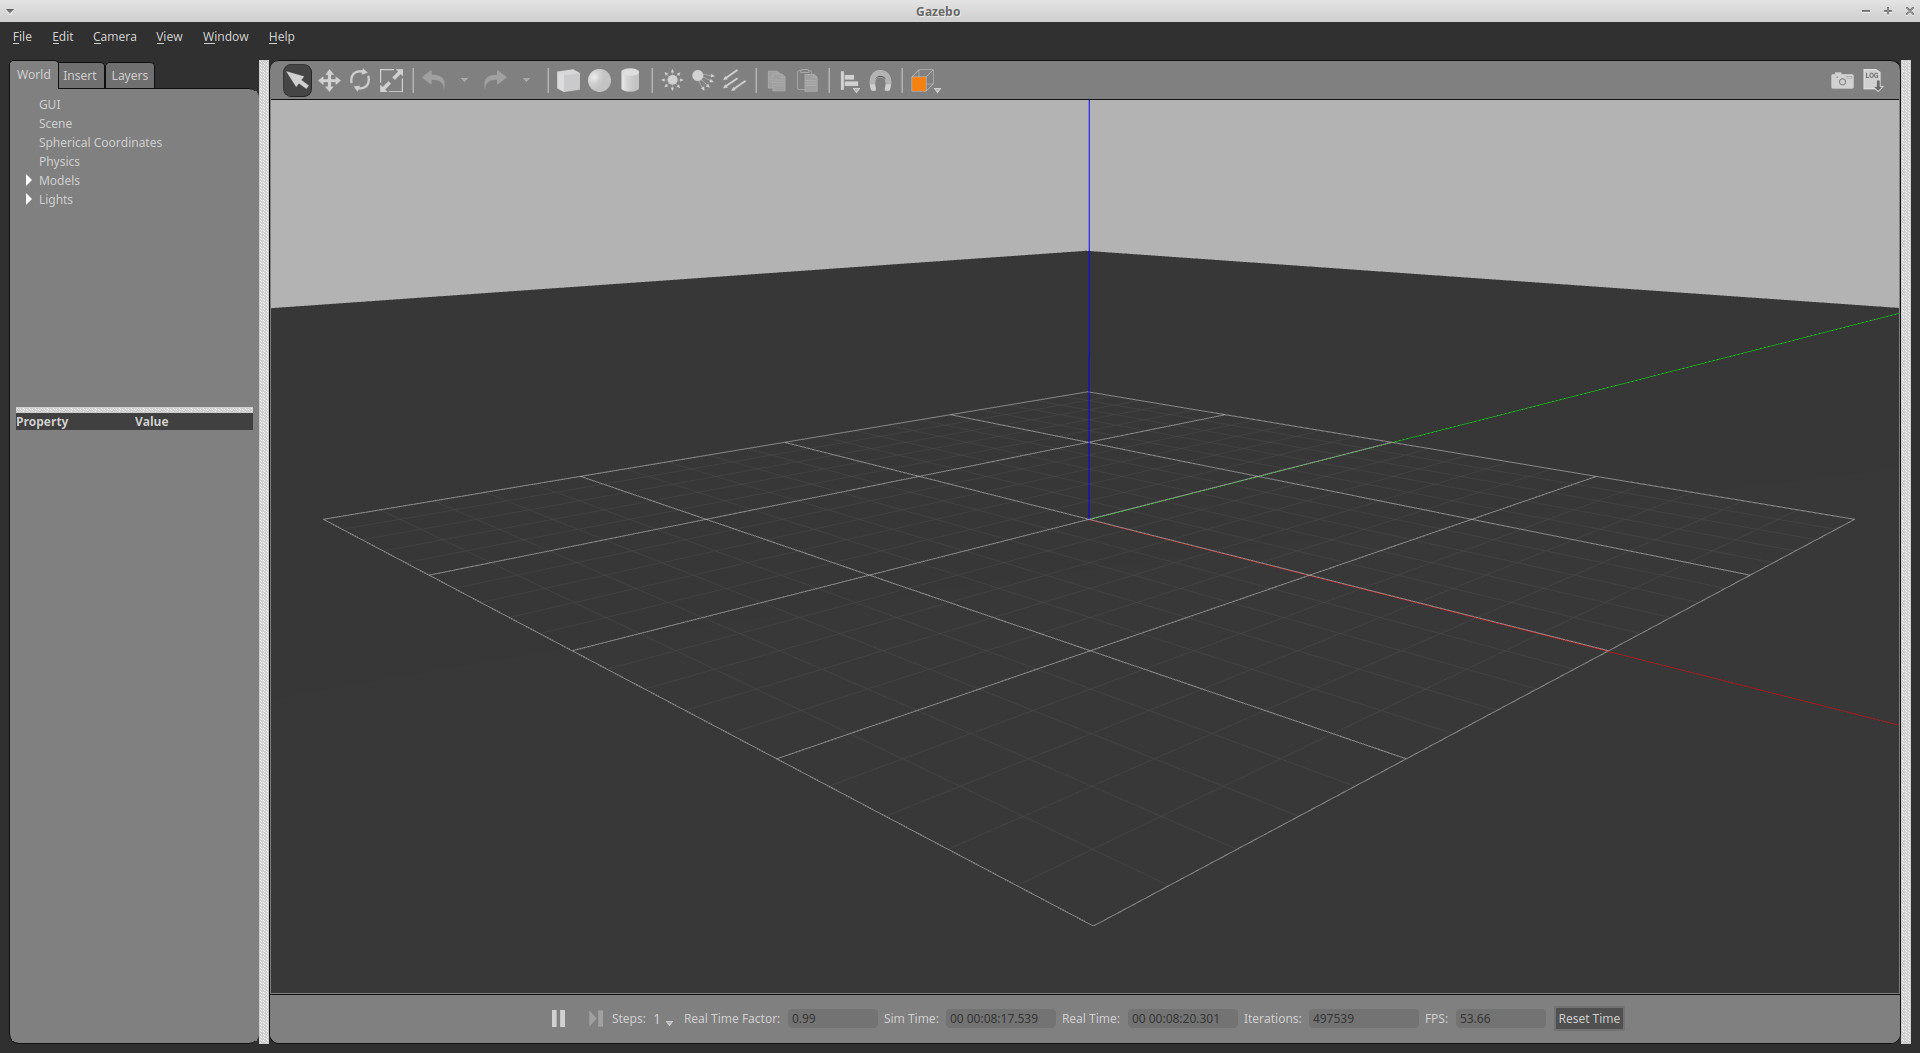
$ roslaunch gazebo_ros empty_world.launchThis will start the gazebo server which simulates the world, and the gazebo client which is the graphical user interface which visualizes the world and allows us to manipulate the simulation. Alternatively, we can control the simulation programmatically through the ROS interface of the gazebo server.
There is a ton of information and tutorials on Gazebo and how to create a robot model for Gazebo. But when you are getting started, you don’t really want to read endless pages of instructions as this can take forever. If on the other hand, you try to work by example, you’ll find out there are packages that are not always up to date and do things in a slightly different way, which results in you being confused and overwhelmed. Instead, here I’ll try to point out the things I wish I knew when I was getting started, hoping to save you from all the initial frustration.
So this is how I choose to close 2k18… aiming for an adventure through the world of Gazebo, and I’m inviting you to come along for the ride.
See you in the next post where we will see how to create and set up a world for Gazebo.
Update
Although not the official version, you can also install Gazebo 9 on ROS Kinetic. The process is still simple but a bit more involved as, if you have previously installed ros-kinetic-desktop-full, which includes gazebo7, you would have to uninstall it and install everything that is installed by desktop-full but gazebo. Then you can go ahead and install the usual gazebo packages shown above, but replacing first any 7s with 9s. The steps are outlined in this medium post, Setting up ROS Kinetic and Gazebo 8 or 9.